How to Stain Concrete on a Budget: Tools and Materials You’ll Need
June 17, 2025Transforming plain concrete into a stunning decorative feature doesn’t have to break the bank. Concrete staining offers an affordable way to enhance patios, driveways, and interior floors with rich, lasting color. At Bison Concrete, we’ve helped countless Oklahoma homeowners achieve professional-looking results while staying within their budget. This guide will walk you through everything you need to know about staining concrete yourself, from selecting the right materials to applying them properly for beautiful, long-lasting results.
Staining concrete is not only cost-effective but also provides exceptional durability compared to other flooring options. With the right tools and techniques, you can create a custom look that enhances your property’s value and aesthetic appeal. Whether you’re refreshing an old patio or adding character to a newly poured slab, budget-friendly staining is within reach for most DIY enthusiasts.
Understanding Concrete Staining Basics
Before diving into the tools and materials, it’s important to understand what concrete staining actually involves. Unlike paint, which sits on top of concrete, stains penetrate the surface and create a permanent color change through chemical reaction or by filling the concrete’s pores with pigment.
There are two primary types of concrete stains: acid-based (reactive) stains and water-based (non-reactive) stains. Acid stains create variegated, translucent color effects by reacting with the concrete’s lime content. They typically offer a limited color palette of earthy tones. Water-based stains, on the other hand, provide more uniform coverage and come in a wider range of colors, including vibrant hues.
For budget-conscious homeowners, water-based stains often make the most sense. They’re generally less expensive, easier to apply, and don’t produce potentially harmful fumes. Plus, they don’t require the neutralization step that acid stains demand. That said, if you’re looking for that distinctive mottled look, acid stains might be worth the extra effort and precautions.
The condition of your concrete will significantly impact your staining results. If you’re working with an older slab that has common types of concrete cracks, you’ll want to address these issues before staining. Small cracks can add character, but structural problems should be repaired first.
Essential Tools for DIY Concrete Staining
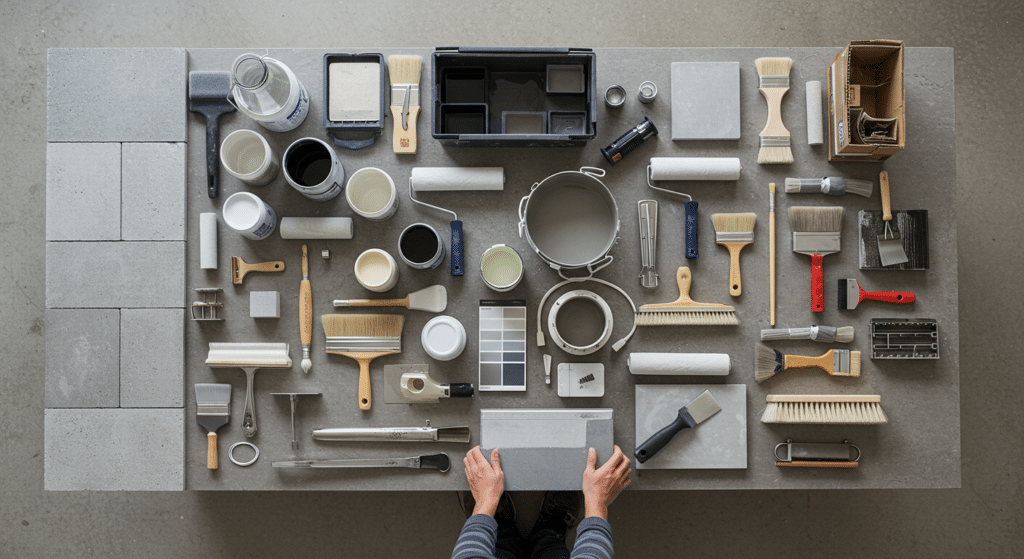
Gathering the right tools before starting your concrete staining project will save you time and frustration. Fortunately, most of what you’ll need is affordable and readily available at hardware stores.
For application, you’ll need:
- Plastic pump sprayer (for larger areas)
- Paintbrushes (for edges and detail work)
- Microfiber mop or applicator pad with extension pole
- Plastic mixing buckets
- Paint roller with extension pole
- Paint tray
- Painter’s tape for protecting adjacent surfaces
- Plastic sheeting or drop cloths
For surface preparation, gather:
- Concrete cleaner/degreaser
- Stiff-bristled brush
- Pressure washer (can be rented)
- Shop vacuum for cleanup
- Concrete etching solution (for smooth concrete)
Safety equipment is non-negotiable, even on a budget. Include:
- Safety goggles
- Chemical-resistant gloves
- Respirator mask (particularly important for acid stains)
- Work boots
If you’re concerned about the initial investment, consider borrowing or renting some of the larger items like the pressure washer. Many Bison Concrete customers find that splitting costs with neighbors tackling similar projects helps make the investment more manageable without compromising on quality.
Budget-Friendly Staining Materials
The materials you choose will have the biggest impact on both your budget and results. Here’s how to select cost-effective options without sacrificing quality:
Concrete Stain Options
Water-based acrylic stains are typically the most budget-friendly choice, ranging from $30-$70 per gallon. One gallon generally covers 250-400 square feet, depending on concrete porosity and application method. These stains come ready to use or require simple dilution with water.
Acid stains are slightly more expensive ($60-$100 per gallon) and cover less area (200-300 square feet per gallon). They also require neutralization with ammonia or baking soda solution after application, adding to your materials list.
For the absolute tightest budgets, concrete tinted sealers offer a compromise. While not true stains, they combine color and protection in one step, typically costing $40-$80 per gallon.
Sealers and Finishes
After staining, sealing is essential for protecting your work. Budget options include:
- Acrylic sealers ($30-$60 per gallon): Easy to apply and touch up, offering decent protection
- Epoxy sealers ($50-$100 per gallon): More durable but more difficult to apply
- Urethane sealers ($60-$120 per gallon): Most durable but also most expensive
Many professionals at our blog recommend not skimping on sealer quality, as it determines how long your stained concrete will maintain its appearance. A quality sealer applied correctly can extend the life of your stained concrete by years, making it a wise investment even on a tight budget.
Surface Preparation: The Key to Success
Proper preparation is the most critical step in concrete staining and won’t significantly impact your budget. Skipping or rushing this step is a common mistake that leads to disappointing results.
Start by thoroughly cleaning the concrete. Remove all dirt, oil, grease, paint, adhesives, and previous sealers. For exterior concrete, a pressure washer works well. For interior surfaces, scrubbing with a degreaser and floor machine (which can be rented inexpensively) is effective.
Next, check if your concrete needs etching. Smooth, troweled concrete must be etched to open up the pores for stain penetration. A simple water test can determine if etching is necessary: sprinkle water on the surface – if it soaks in readily, you’re good to go. If it beads up, etching is required.
Commercial concrete etchers cost about $15-$30 per gallon, but a budget alternative is diluted muriatic acid (about $10 per gallon). However, muriatic acid requires extreme caution during use, including proper ventilation and safety equipment. Many concrete experts have seen driveways fail prematurely due to incorrect installation techniques, as discussed in our article about proper rebar spacing in concrete driveways.
After cleaning and etching, repair any cracks or damage using a concrete patching compound (approximately $10-$20). Be aware that patched areas may take stain differently than the surrounding concrete, potentially creating variation in your finished look.
Step-by-Step Application Process
Following a systematic approach will help you achieve professional-looking results while staying on budget:
- Test your chosen stain on an inconspicuous area first to confirm the color and coverage.
- Apply painter’s tape and protective coverings to adjacent surfaces.
- Mix the stain according to manufacturer instructions.
- Working in small sections (about 4×4 feet), apply the stain evenly using a pump sprayer, followed by immediate backbrushing with a push broom or microfiber applicator to ensure even coverage.
- Allow the first coat to dry completely (typically 2-4 hours for water-based stains, 4-6 hours for acid stains).
- Apply a second coat if deeper color is desired.
- For acid stains, neutralize the surface once you’ve achieved the desired color (typically using ammonia or baking soda solution).
- Thoroughly rinse the surface and allow it to dry completely (24-48 hours).
- Apply sealer according to manufacturer instructions, typically using a roller or sprayer.
- Allow the sealer to cure fully before resuming normal traffic (24-72 hours for foot traffic, 7-10 days for vehicles).
The entire process typically spans a weekend for a standard-sized patio, making it a feasible DIY project without requiring extensive time off work.
Creative Techniques on a Budget
You don’t need expensive tools to create stunning decorative effects. Here are some budget-friendly techniques to elevate your stained concrete:
Multi-Color Applications
Create depth and visual interest by applying a base color, then adding a second color over it. Apply the second color more sparsely or dilute it for subtle variation. This technique costs no more than single-color staining but adds significant visual appeal.
Faux Finishes
Using household items, you can create unique patterns:
- Crumpled plastic bags dabbed in stain create a marbled look
- Feathers dragged through wet stain create veining similar to natural stone
- Leaves pressed onto wet stain leave natural impressions
Stencil Patterns
Adhesive stencils (ranging from $10-$50) can be applied before staining to create patterns that mimic tile, stone, or custom designs. This method delivers high-end looks at a fraction of the cost of actual tile or stone installation.
These techniques add minimal cost to your project while potentially increasing your home’s value significantly. According to industry data from 2024, homes with decorative concrete features sold for 3-5% more than comparable properties with plain concrete.
Maintaining Your Stained Concrete
Proper maintenance ensures your budget-friendly stained concrete continues to look great for years to come. The good news is that maintenance costs are minimal compared to other flooring options.
For routine cleaning, use water and a pH-neutral cleaner specifically formulated for stained concrete (about $10-$15 per bottle). Avoid harsh chemicals, acidic cleaners, and ammonia-based products as they can damage the sealer and stain.
Reapply sealer every 2-3 years for exterior surfaces and every 3-5 years for interior surfaces. This ongoing maintenance represents the largest long-term cost but is essential for protecting your investment. A gallon of sealer typically costs $30-$120 depending on quality, with higher-quality products lasting longer.
For exterior stained concrete, avoid using de-icing salts in winter as they can damage both the sealer and the concrete itself. Instead, use sand for traction, which has no chemical impact on your stained surface.
Common Budget-Friendly Mistakes to Avoid
Even budget-conscious DIYers can achieve professional-looking results by avoiding these common pitfalls:
Inadequate surface preparation is the most frequent error. Spending time thoroughly cleaning and preparing the surface costs only elbow grease but dramatically improves results. Many homeowners rush this step only to be disappointed with patchy, uneven staining.
Another mistake is using the cheapest materials available. While budget-consciousness is important, extremely cheap stains and sealers often deliver poor results and require frequent reapplication, costing more in the long run. Aim for mid-range products that balance quality and affordability.
Weather conditions significantly impact staining results but cost nothing to get right. Avoid staining when temperatures are below 50°F or above 90°F, or when rain is expected within 24 hours. Similarly, direct sunlight can cause stains to dry too quickly, resulting in lap marks and uneven color.
Finally, skipping test patches leads to unpredictable results. Different concrete slabs accept stain differently based on age, composition, and previous treatments. Always test your chosen stain on a small, inconspicuous area before committing to the entire project.
Frequently Asked Questions
How much does it cost to stain concrete myself versus hiring a professional?
DIY concrete staining typically costs between $2-$4 per square foot, including all materials and tool rentals. Professional installation ranges from $7-$15 per square foot. On a standard 500 square foot driveway, you could save $2,500-$5,500 by doing it yourself. However, professionals bring expertise that ensures consistent results, which may be worth the investment for highly visible areas or complex design work.
Can I stain my concrete if it’s already been sealed?
Previously sealed concrete must have the sealer completely removed before staining. This requires grinding, sanding, or chemical strippers (which cost $30-$50 per gallon). If you’re unsure whether your concrete is sealed, perform a water test – if water beads up rather than soaking in, a sealer is present. Removing existing sealer adds to your project cost but is essential for stain penetration.
How long will my DIY stained concrete last?
With proper application and maintenance, DIY stained concrete can last 5-10 years before needing reapplication. Interior stained concrete typically lasts longer than exterior, which faces more wear and environmental exposure. The quality of your sealer and how frequently you reapply it are the biggest factors affecting longevity. Using a high-quality sealer and reapplying it before it shows significant wear will extend the life of your stained concrete substantially.
What’s the difference between concrete stain and concrete paint?
Concrete stain penetrates the surface, creating a chemical reaction that permanently changes the concrete’s color. Paint sits on top of the concrete, forming a film. Stain won’t chip or peel like paint can, but it offers translucent rather than opaque coverage. Budget-wise, concrete paint is often less expensive initially ($25-$50 per gallon) but requires more frequent reapplication than stain, making it more costly over time.
Can I stain my concrete a completely different color from its original appearance?
Water-based stains can create more dramatic color changes than acid stains, making them better for significant color transformations on a budget. However, concrete stains are translucent and work with the existing concrete color rather than covering it completely. For dramatic color changes (like going from gray to red), you may need to apply a tinted primer first (adding $30-$50 to your project) or consider concrete dyes, which offer more vibrant color options but may increase your budget by $100-$200 for a typical patio.
Bringing It All Together: Affordable Concrete Staining with Lasting Impact
Staining concrete on a budget is an achievable DIY project that can transform your home’s appearance without draining your savings. By carefully selecting your materials, properly preparing the surface, and following the application steps outlined above, you can create beautiful, long-lasting results that rival professional installations. Remember that investing in proper tools and quality stains and sealers will save money in the long run, even if they cost slightly more upfront. If you’re ready to enhance your concrete surfaces but need professional guidance, the team at Bison Concrete is always available to provide expert advice tailored to your specific project needs.
About Bison Concrete
We specialize in delivering outstanding digital solutions tailored to each client’s unique needs. With years of industry experience and a dedicated team of experts, we combine technical excellence with creative innovation to help businesses achieve their goals. Our comprehensive services are designed to enhance your digital presence while driving measurable results for your organization.Contact us or call at (405)-254-8184 to discuss how our expert team can help transform your digital presence with tailored solutions designed for your specific business needs. Schedule a free consultation to learn more about our services and how we’ve helped businesses like yours achieve exceptional results.
Related Articles
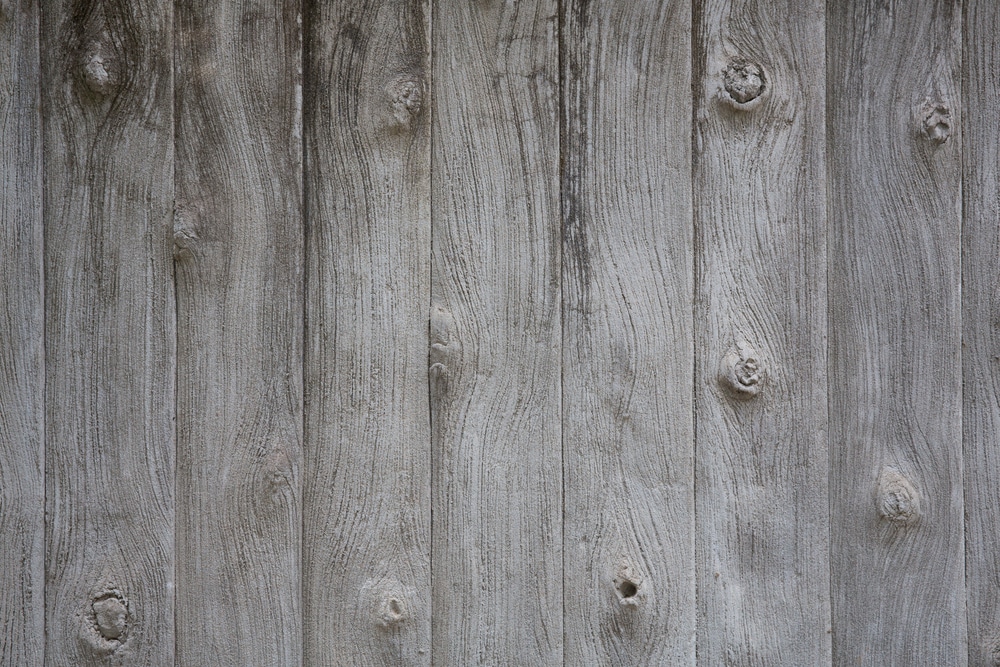
How to Make Concrete Look Like Wood for Interior Floors
Interior design enthusiasts constantly seek ways to achieve the warm, natural beauty of hardwood floors without the associated maintenance costs…
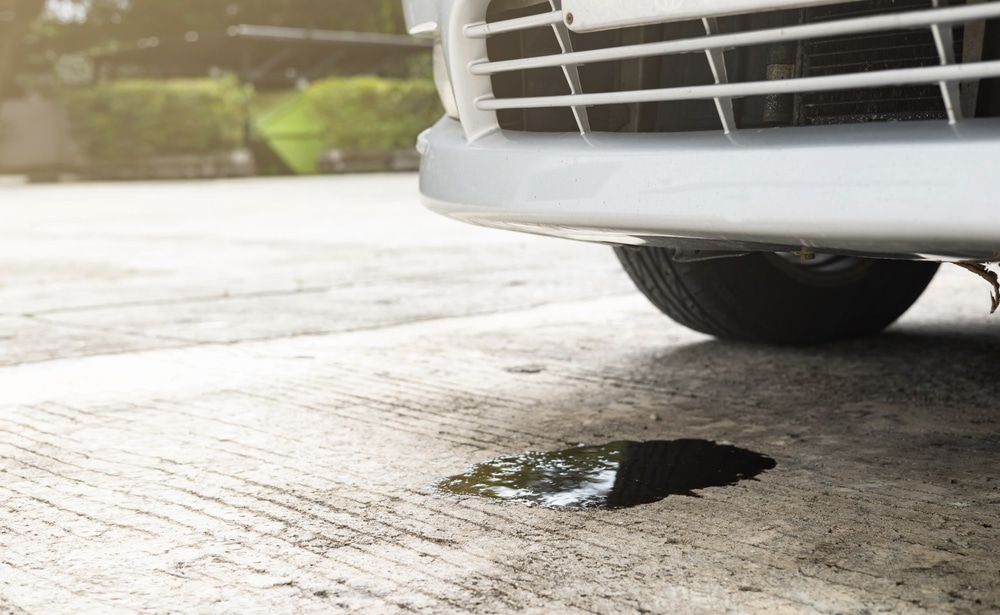
A Guide on How to Clean Gasoline Spill on Concrete
Gasoline spills on concrete surfaces are more common than you might think. Whether it happens while refueling lawn equipment, working…
How Much Does a Stamped Concrete Patio Cost?
Creating an outdoor living space that combines beauty, durability, and value is a top priority for many homeowners. Stamped concrete…
Interested in our services?
Get a free quote today!
Don’t wait to start your next construction project! Whether it’s a custom build, a renovation, or a repair, Bison Concrete is here to turn your ideas into reality.