How to Make Concrete Look Like Wood for Interior Floors
August 7, 2025Interior design enthusiasts constantly seek ways to achieve the warm, natural beauty of hardwood floors without the associated maintenance costs and durability concerns. Wood-look concrete flooring has emerged as a revolutionary solution that combines the aesthetic appeal of natural timber with the strength and longevity of concrete. This innovative flooring technique allows homeowners to enjoy the rustic charm of wood grain patterns while benefiting from concrete’s superior resistance to moisture, scratches, and wear.
The process of creating wood-textured concrete floors involves specialized stamping, staining, and finishing techniques that can transform ordinary concrete into stunning replicas of various wood species. From weathered barn wood to polished oak, the possibilities are virtually limitless. This comprehensive guide will walk you through the essential steps, materials, and professional considerations needed to achieve beautiful wood-look concrete floors that rival authentic hardwood in appearance while surpassing it in performance and value.
Understanding Wood-Look Concrete Flooring Options
Wood-look concrete flooring can be achieved using several techniques, each with unique benefits. Below are the core components that make this flooring style both beautiful and durable:
- Stamping with Wood Grain Mats
- Specialized stamping mats are pressed into freshly poured concrete to create realistic wood grain patterns.
- Common patterns mimic oak, pine, cedar, and reclaimed barn wood.
- Concrete Staining for Realistic Color
- Acid-based stains: Penetrate deep into the concrete, producing natural color variations that resemble real wood grain.
- Water-based stains: Offer more consistent color control and are ideal for lighter wood tones like
- Proper Timing is Essential
- Concrete must reach the correct consistency—firm enough to hold the pattern, yet soft enough to accept deep impressions.
- Professionals use the “thumb test” to determine timing. If light thumb pressure leaves only a slight indentation, the surface is ready for stamping.
Choosing the right combination of stamping and staining techniques is key to achieving a truly authentic wood appearance. When done correctly, these methods can create concrete floors that look like high-end hardwood but offer far greater durability and lower maintenance.
Essential Materials and Tools for the Project
Successfully creating wood-look concrete floors requires specific materials and professional-grade tools. The concrete mix itself should contain a plasticizer additive to extend working time and improve stamp definition. A standard 4,000 PSI mix works well for most interior applications, though higher strength mixes may be necessary for commercial installations.
Stamping tools include the textured mats, tampers for pressing patterns into the concrete, and specialized release agents that prevent the mats from sticking while adding subtle color variations. Quality release agents come in powder and liquid forms, with powder releases typically providing better pattern definition.
Essential materials for this project include:
- High-quality concrete mix with plasticizer
- Wood grain stamping mats in desired patterns
- Acid or water-based concrete stains
- Release agent (powder or liquid)
- Concrete sealer specifically formulated for interior use
- Tamping tools and hand floats
- Protective equipment including gloves and respirators
Color hardeners applied during the initial concrete placement create a durable colored surface that accepts stains more uniformly. These dry shake products also increase surface density and abrasion resistance, making them particularly valuable for high-traffic interior areas.
Step-by-Step Installation Process
Installing wood-look concrete floors is a highly detailed process that requires careful planning, proper timing, and the right techniques at every stage. From preparing the subgrade to stamping, staining, and sealing, each step plays a critical role in achieving a realistic wood grain appearance and long-lasting durability.
Follow these essential steps to properly install wood-look concrete floors with realistic results and lasting durability:
- Prepare the subgrade and moisture barrier
- Begin with a compacted gravel base.
- Ensure a minimum 4-inch concrete thickness for interior floors.
- Install a vapor barrier to prevent moisture from seeping upward.
- Set up clean edge forms for straight lines and uniform depth.
- Place the concrete under proper conditions
- Pour during stable weather between 50 and 80 degrees Fahrenheit with low humidity.
- Screed the concrete level immediately after pouring.
- Float the surface to bring the cream up for better stamping texture.
- Plan and perform the stamping process
- Start stamping at the most visible areas and work toward less prominent zones.
- Use wood-grain mats with slight overlaps to ensure consistent grain alignment.
- Timing is critical. Begin stamping when thumb pressure leaves only a slight indentation in the concrete.
- Allow proper curing before staining
- Let the stamped concrete cure for at least 24 hours before applying any stain.
- This allows the surface to harden while remaining porous enough to absorb stain effectively.
- Clean the surface before staining
- Remove all residue from the release agents used during stamping.
- A clean surface ensures even stain penetration and helps achieve a natural wood appearance.
Taking your time with each phase of the installation process helps ensure a flawless wood-look finish. From subgrade prep to final cleanup, every step plays a role in how authentic and long-lasting your finished concrete floor will be.
Advanced Staining Techniques for Realistic Wood Appearance

Professional staining techniques separate amateur attempts from truly convincing wood-look concrete floors. The key lies in layering multiple stain colors to recreate the complex color variations found in natural wood. Base coat application should cover the entire surface evenly, establishing the primary wood tone.
Secondary stain applications focus on enhancing grain patterns and creating realistic color variations. Darker stains applied selectively to stamped grain lines intensify the wood texture appearance, while lighter accent colors can highlight raised areas that would naturally show more wear on authentic wood floors.
A successful project completed by Bison Concrete involved creating a rustic barn wood appearance using a three-stage staining process. The base coat utilized a medium brown acid stain, followed by selective application of darker walnut tones in the grain lines, and finally light gray accents to simulate weathered wood characteristics. This technique achieved remarkable realism that convinced visitors they were walking on authentic reclaimed timber.
Stain application timing affects final appearance significantly. Applying subsequent coats while previous applications remain slightly damp allows colors to blend naturally, creating organic transitions similar to those found in real wood. Conversely, applying stains to completely dry surfaces produces more distinct color separations that can appear artificial.
Protective Sealing and Finishing Options
Sealer selection directly impacts both the appearance and performance of wood-look concrete floors. Penetrating sealers provide excellent protection while maintaining a natural, matte appearance that closely resembles unsealed hardwood. These products penetrate deep into the concrete pores, creating an invisible protective barrier that resists stains and moisture without altering surface texture.
Topical sealers offer enhanced protection and are available in various sheen levels from matte to high-gloss. For authentic wood appearance, satin or semi-gloss finishes work best, providing subtle light reflection similar to finished hardwood floors. High-gloss sealers, while offering maximum protection, can appear too reflective for convincing wood simulation.
Application technique significantly affects sealer performance and appearance. Professional contractors typically apply sealers in thin, even coats using high-quality microfiber rollers or sprayer systems. Multiple thin coats provide superior protection compared to single thick applications, which can lead to cloudiness or uneven sheen levels.
Maintenance requirements vary based on sealer type and traffic levels. Penetrating sealers typically require reapplication every 2-3 years, while quality topical sealers can provide 3-5 years of protection under normal residential use. Regular cleaning with pH-neutral cleaners helps maintain both appearance and sealer integrity throughout the floor’s lifespan.
Cost Considerations and Professional vs. DIY Installation
Wood-look concrete flooring costs vary significantly based on complexity, square footage, and regional labor rates. Professional installation typically ranges from $8-15 per square foot for basic wood-look patterns, while complex multi-color designs with hand-detailing can exceed $20 per square foot. These costs remain competitive with high-quality hardwood flooring when considering long-term durability and maintenance savings.
DIY installation can reduce material costs but requires significant skill and specialized equipment. Concrete stamping demands precise timing and technique that develops through experience. Mistakes during the stamping process often require complete floor replacement, making professional installation cost-effective for most homeowners. When comparing options, Bison Concrete provides detailed estimates that help homeowners understand the true value proposition of professional installation versus DIY attempts.
Equipment rental costs for DIY projects include stamping mats ($50-100 per day), specialized tools ($200-300), and safety equipment. Material costs typically account for 30-40% of total project expenses, with labor and expertise comprising the remainder. Professional contractors also provide warranties and insurance coverage that protect homeowners from installation defects or accidents.
The learning curve for achieving professional-quality results proves steep for inexperienced installers. Timing errors, improper mixing ratios, or inadequate surface preparation can result in costly failures. For those interested in exploring different concrete applications, checking out information on farmhouse stained concrete floors vs. wood can provide valuable insights into various decorative concrete options.
Maintenance and Long-Term Care Requirements
Proper maintenance preserves both the appearance and protective qualities of wood-look concrete floors. Daily cleaning requires only dust mopping or vacuuming to remove abrasive particles that could scratch the sealer surface. Weekly damp mopping with pH-neutral cleaners maintains cleanliness without damaging the protective sealer coating.
Periodic deep cleaning helps remove embedded dirt and restores surface luster. Professional-grade concrete cleaners designed for sealed surfaces provide optimal results without compromising sealer integrity. Avoid acidic or alkaline cleaners that can etch the concrete surface or degrade protective coatings over time.
Sealer maintenance schedules depend on traffic patterns and usage intensity. High-traffic areas may require annual sealer touch-ups, while protected areas can extend 3-5 years between applications. Professional maintenance services ensure proper product selection and application techniques that preserve floor integrity and appearance.
Damage repair capabilities represent a significant advantage of concrete flooring over traditional hardwood. Minor scratches or stains often respond to simple cleaning or light polishing techniques. More significant damage can be addressed through localized grinding and re-staining processes that seamlessly blend repairs with surrounding areas, something impossible to achieve with authentic hardwood floors.
Frequently Asked Questions
How long does wood-look concrete flooring last compared to traditional hardwood?
Wood-look concrete floors typically last 20 to 30 years or more with proper care, significantly outlasting most hardwood floors. The concrete base resists moisture, pests, and warping. Sealer reapplication every few years helps preserve its appearance and durability.
Can wood-look concrete be installed over existing concrete slabs?
Yes, wood-look concrete can be applied over existing slabs using bonding agents and decorative overlays. The base must be clean, solid, and properly prepped through grinding or etching. This method is cost-effective and delivers the same aesthetic as a new pour.
What maintenance differences exist between wood-look concrete and real hardwood floors?
Wood-look concrete is much easier to maintain than hardwood. It resists water damage and scratching, and it doesn’t require sanding or refinishing. Basic cleaning and occasional resealing are usually all that’s needed.
How realistic can wood-look concrete appear compared to authentic hardwood?
When professionally installed, wood-look concrete can closely resemble natural hardwood. Advanced stamping and layered staining techniques recreate grain patterns and color variations. Most people can’t tell the difference without close inspection.
Are there any limitations on wood species patterns available for concrete stamping?
Most popular wood species such as oak, maple, pine, and cedar are available in stamp mat designs. Custom patterns are possible, but standard mats are more budget-friendly. While extremely fine grains may not reproduce perfectly, most wood looks are achievable with the right tools and techniques.
Invest in Style That Lasts
Wood-look concrete flooring represents an innovative solution that delivers the aesthetic appeal of natural hardwood with superior durability and lower long-term maintenance requirements. Through proper planning, quality materials, and professional installation techniques, homeowners can achieve stunning floors that provide decades of beauty and performance. The combination of realistic wood patterns, custom color options, and concrete’s inherent strength creates flooring that surpasses traditional materials in both form and function. For homeowners considering this transformative flooring option, consulting with experienced professionals ensures optimal results that enhance property value while providing years of satisfaction and minimal maintenance requirements.
About Bison Concrete
Bison Concrete is Oklahoma’s trusted expert in decorative concrete flooring, offering custom solutions that blend natural beauty with long-term durability. With over 15 years of experience, we specialize in stamped and stained concrete that replicates the look of real wood, stone, and other premium finishes. Our team uses industry-proven methods and top-tier materials to deliver surfaces that are as strong as they are stunning.
Whether you want a rustic barnwood feel or a sleek hardwood look, we work closely with homeowners to bring their vision to life through high-performance concrete design. From consultation to installation, we ensure every detail supports both form and function.
If you’re ready to transform your interior floors with a wood-look finish that lasts, get in touch with our team. We’ll help you choose the right texture, color, and finish to match your space perfectly.
Related Articles
A Guide on How to Clean Gasoline Spill on Concrete
Gasoline spills on concrete surfaces are more common than you might think. Whether it happens while refueling lawn equipment, working…
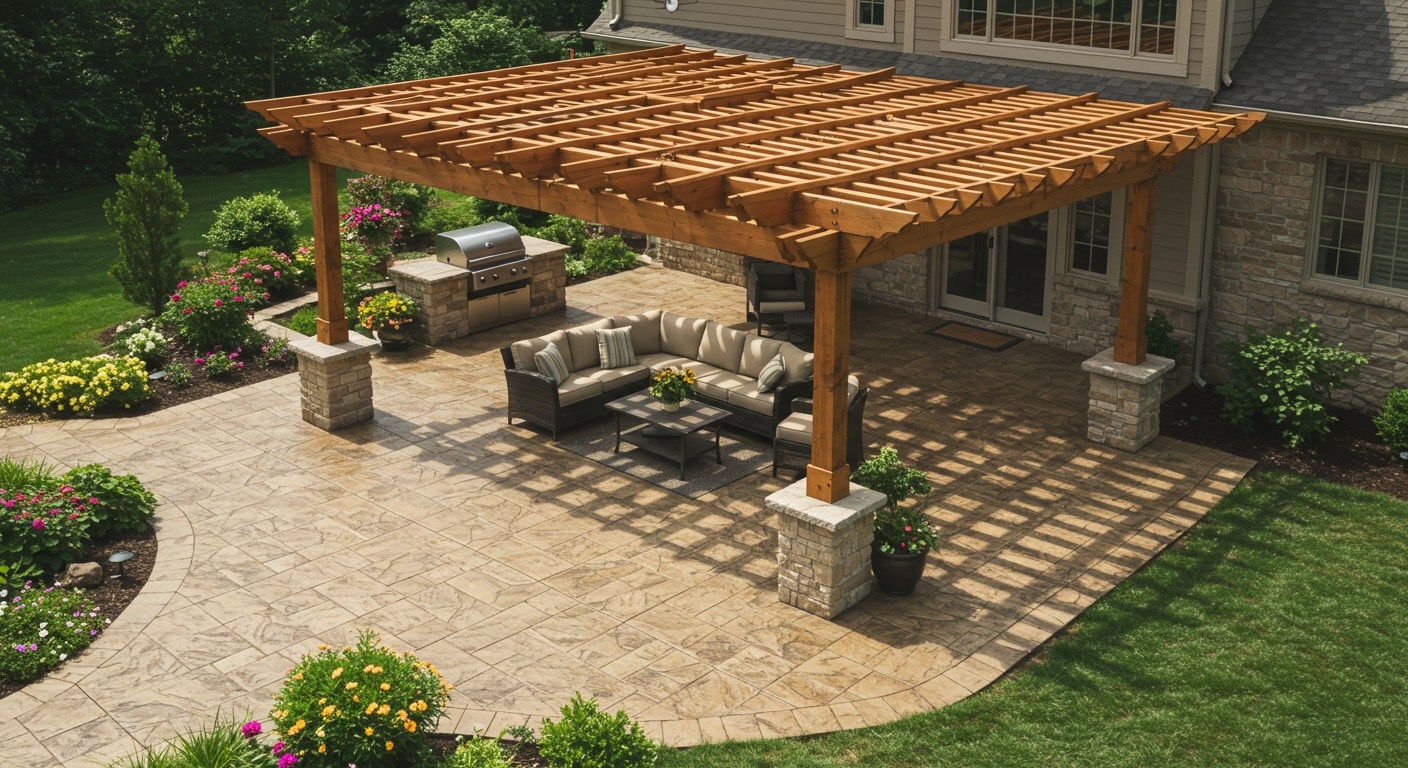
How Much Does a Stamped Concrete Patio Cost?
Creating an outdoor living space that combines beauty, durability, and value is a top priority for many homeowners. Stamped concrete…
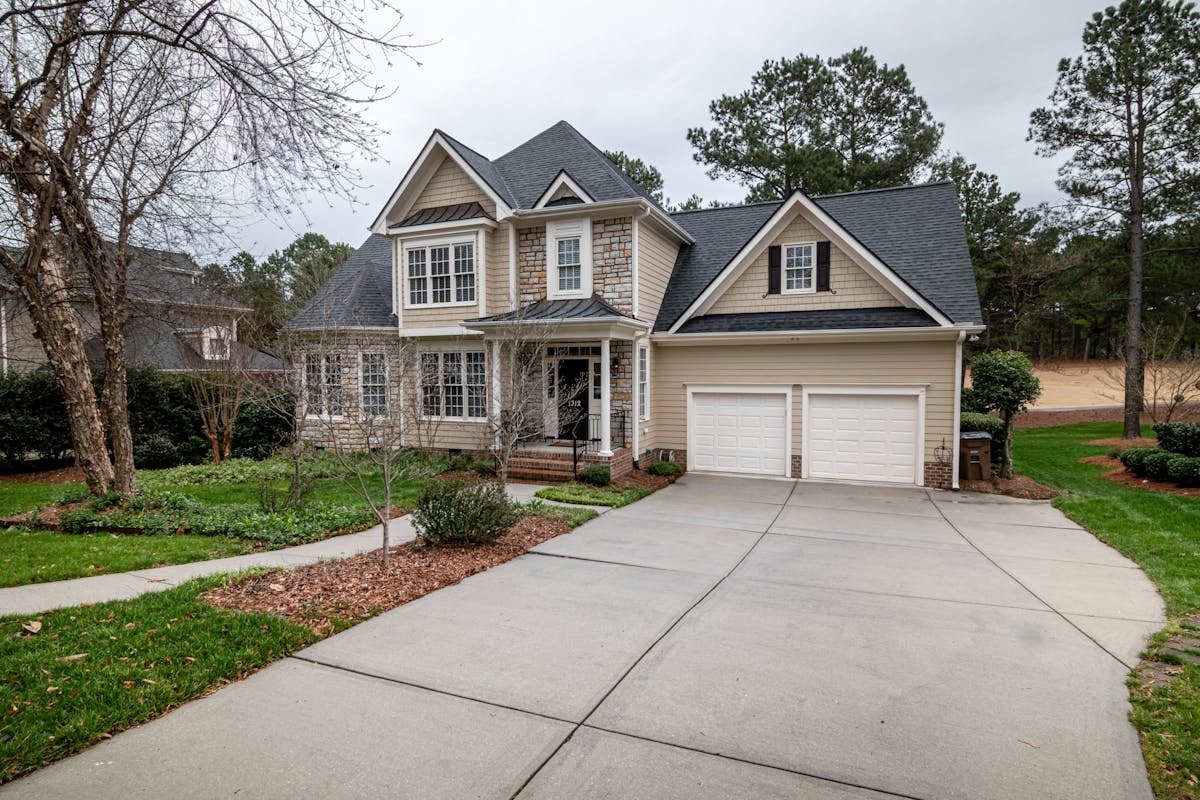
How Much Does a Concrete Driveway Cost in Oklahoma?
A concrete driveway is more than just a practical upgrade for your Oklahoma home; it’s a smart investment that boosts…
Interested in our services?
Get a free quote today!
Don’t wait to start your next construction project! Whether it’s a custom build, a renovation, or a repair, Bison Concrete is here to turn your ideas into reality.